Wednesday, April 18, 2012

The Lorax: How Many Ways Can We Make 15 cents?

I have decided that on Friday, my kinders and I will be celebrating Earth Day with a "birthday party" of sorts for Mother Earth.  After reading The Lorax in the morning, we will be doing some Lorax math in the afternoon. 


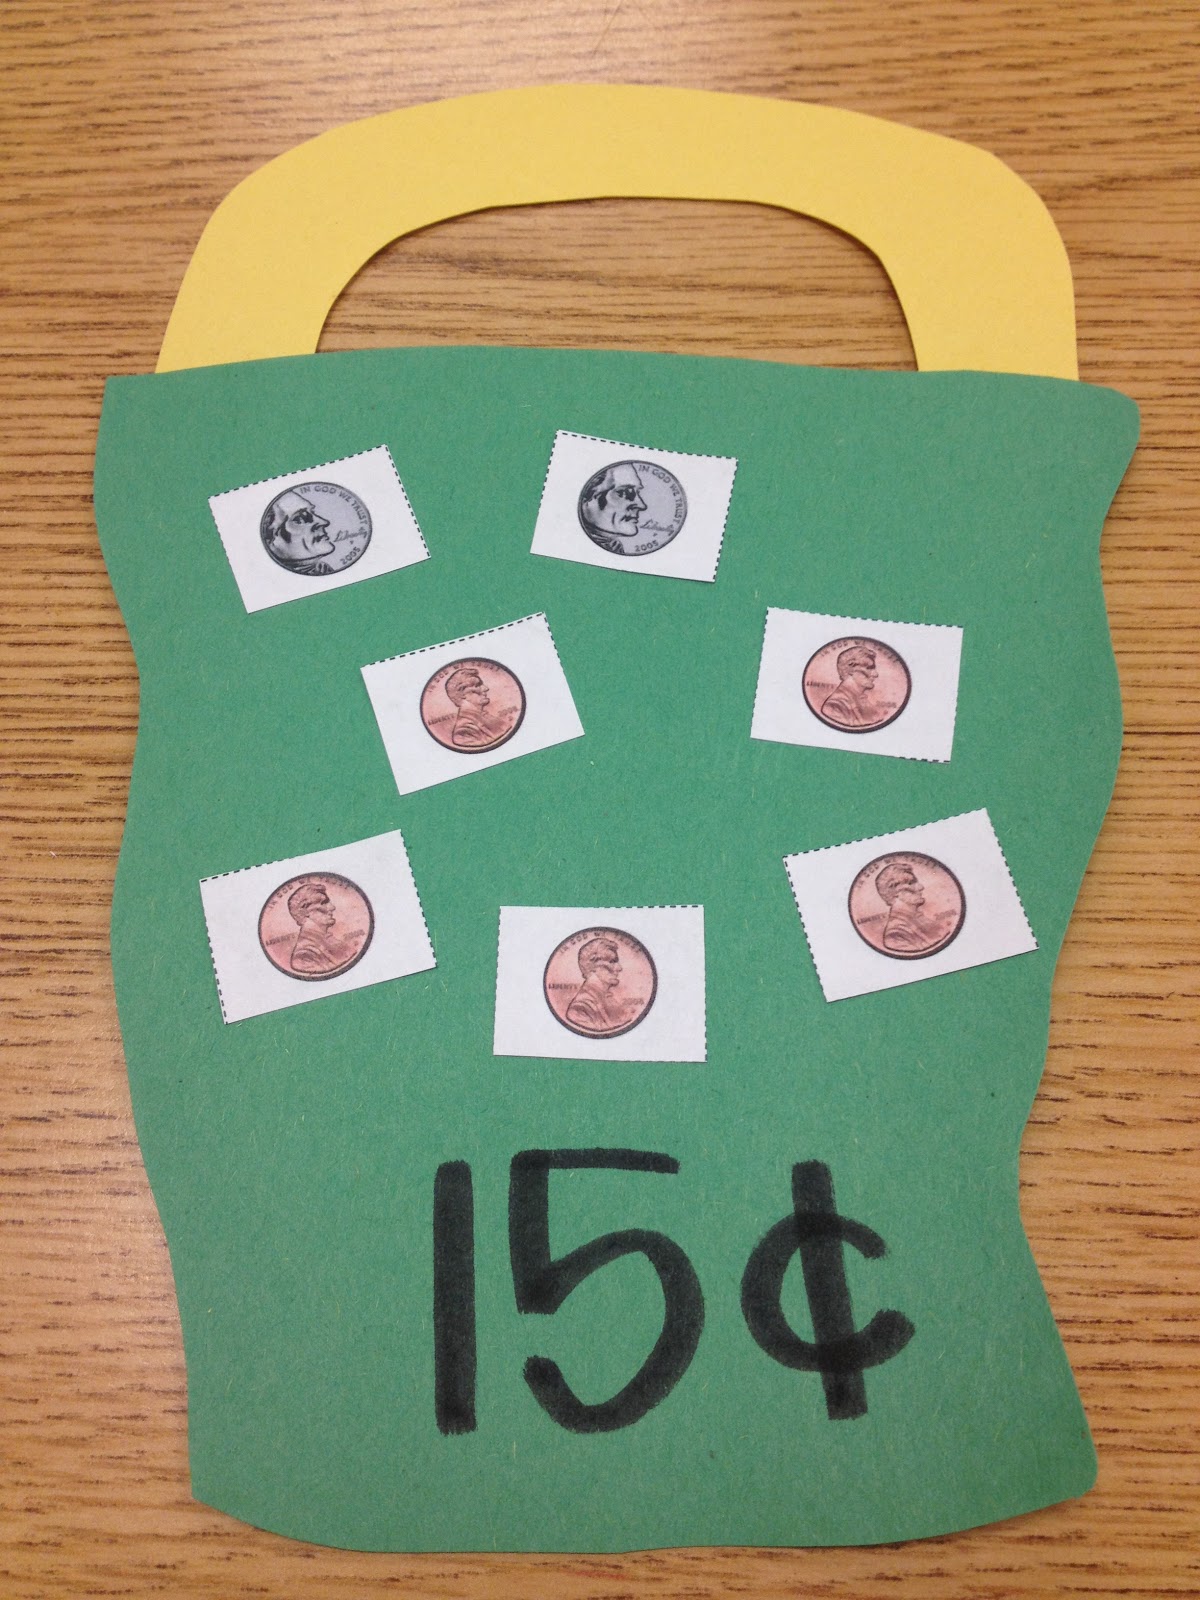
We have been learning about money in math, so on Friday, we are going to practice different ways of making 15 cents (the price you'll pay if you want to speak with the Once-ler!).  After making 15 cents using real money, I'm going to have my students make (and decorate) the Once-ler's pail and glue paper coins to show how they made 15 cents.  It will look a little something like this:


Then, I'll create a display of the different ways to make 15 cents on the board outside our classroom!  I've put together a kit of the materials needed to give this is a go in your classroom.  It's currently FREE on Teachers Pay Teachers, so please check it out and leave me some feedback (here and/or on Teachers Pay Teachers)!  I'll update with more pictures once my kinder mathematicians have created their pails with 15 cents. 

Sunday, April 15, 2012

Caps for Sale!


 In my last post, I mentioned that we had just started our money unit last week.  Near the week's end, we read Caps for Sale. It is one of my favorites! I adore watching my students revisit the story as they read independently and retell the story with such expression (especially when the monkeys imitate the peddler...makes me smile every time!). After reading, we practiced counting sets of dimes.


I asked every child to design a cap to sell. We used dimes to count out 50 cents and then modeled it using paper dimes (using a strip of paper dimes I gave each child).  The printables are available on Teachers Pay Teachers.


Who wouldn't spend 50 cents to buy one of these colorful caps?! My kinders were so engaged in the design of their caps! If I were to do this again, I think I would have them make a paper cap to wear. Perhaps we would take photos of the kinder "peddlers" wearing their caps and create a class display in the hallway that reads, "Caps! Caps for sale! Fifty cents a cap!" and display 5 giant dimes below the pictures. I might even make a class book that reads, "(Colton)'s cap costs 50 cents instead of 1 cap costs 50 cents.


A Dollar for Penny

Last week in kindergarten, we started our money unit in math. Every child brought in a bag of coins so that we could practice counting sets of money using real money! We sent home a letter to families specifying the number of each coin to include in the set. I gave families about one week's notice and several lovely families sent in extra bags for children who didn't bring in one of their own. 


The first money book we read was A Dollar for Penny, by Dr. Julie Glass.  The illustrations are lovely and we really enjoyed the simple rhyming text. 


Every child used 5 of their pennies to purchase some lemonade and treats.  Each item was labeled with a price and children had to decide how to spend their 5 cents.  After placing pennies on the items we wanted to purchase, we placed our orders by gluing desired items on a paper mat. 


I gave every child a strip of paper pennies to be used to show 5 cents in pennies.  Finally, we enjoyed a refreshing glass of lemonade.  What a sweet ending to our math lesson!

Sunday, April 8, 2012

Free to be you and me!


During our All About Me unit, we explored the physical traits and personal interests that make us unique and special.  We made these mixed-media self-portraits over several days. 


First, we created our heads using construction paper and yarn.  I broke this down into two days.  We used a template to create the head and students used scraps to make the ears.  The next day, we added yarn for hair and glued it to our background paper.  The background paper represents our favorite colors. Throughout the process, I made mirrors available to students so they could closely observe their physical traits before selecting materials.  The kinder pictured above was absent the day we added hair, so here he is in the final stages of creating his self-portrait adding some hair!
 

Then, we used watercolor paints to create a shirt.  When they were dry, we cut them out and glued them to our self-portraits.  We used scraps to make a neck, arms, and hands!
 

We used crayons to embellish our shirts with images that captured our personal interests and favorite things.  When we went on a museum walk, the pictures helped promote disussion among the children.


All of the children were really engaged throughout this project!  After we finished creating our self-portraits, each child displayed his/her self-portrait at his/her seat, creating a class museum.  We went on a museum walk and talked about commonalities and differences among the self-portraits and children's interests.  After our museum walk, we displayed our self-portraits on a bulletin board in the hall for others to enjoy! 

Saturday, April 7, 2012

Apples, Apples, Apples!

I know we're gearing up for spring and summer, but I just love autumn & our annual apple unit!  Children participate in taste tests of different types of apples & foods made from apples.  At the culmination of the thematic unit, we make applesauce in a slow cooker. Yum!  Throughout the unit, we read several fiction and informational texts and practice sequencing, recalling important & interesting information, and participate in a variety of creative experiences.  Head over to Teachers Pay Teachers to check out my thematic unit on apples!


Here are a few of my favorite apple books to read with my kinders...